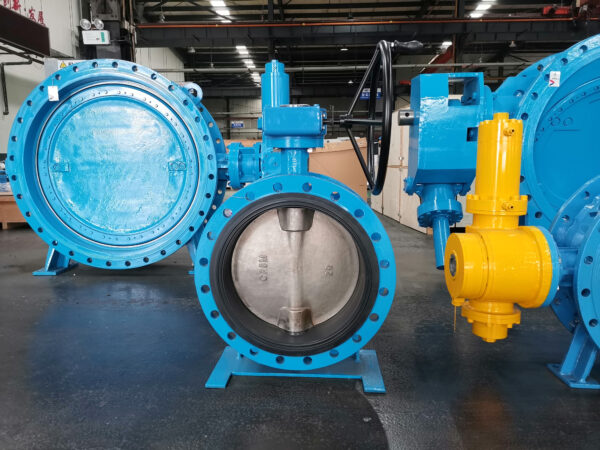
Proper alignment during the installation of double flanged butterfly valves is crucial to ensure optimal performance and longevity of the valve and the piping system.
Here are steps to ensure proper alignment:
- Preparation: Before installing the valve, ensure that the pipeline is properly prepared. Clean the mating surfaces of the flanges to remove any debris, rust, or other contaminants that could interfere with the alignment.
- Inspect Components: Thoroughly inspect the valve and its components, including the flanges, shaft, disc, and seals, for any defects, damage, or signs of wear. Replace any damaged or worn parts before installation.
- Check Alignment Marks: Many double flanged butterfly valves are equipped with alignment marks on the valve body and the flanges to aid in alignment. Align these marks to ensure that the valve is installed in the correct orientation.
- Use Alignment Tools: Utilize alignment tools, such as a straight edge or laser alignment tool, to verify that the flange faces are parallel and aligned properly. Ensure that there is no angular or lateral misalignment between the valve and the piping.
- Adjust Flange Bolts: Loosely install the flange bolts to allow for adjustment during alignment. Use a crisscross tightening pattern to evenly distribute the load on the flange gasket and prevent distortion of the flange faces.
- Check Bolt Holes: Ensure that the bolt holes in the flanges are aligned properly with the corresponding bolt holes in the mating flanges of the piping system. Use a bolt hole alignment tool if necessary to correct any misalignment.
- Tighten Flange Bolts: Gradually tighten the flange bolts in a crisscross pattern, alternating between bolts, to ensure uniform and even compression of the gasket. Follow the torque specifications provided by the valve manufacturer to achieve the proper bolt load.
- Verify Alignment: After tightening the flange bolts, recheck the alignment of the valve using alignment tools. Confirm that the valve is centered within the pipeline and that the flange faces are still parallel.
- Perform Leakage Test: Conduct a leakage test, such as a hydrostatic or pneumatic test, to verify the integrity of the valve installation. Pressurize the system and inspect for any leaks around the valve and flange connections.
- Final Inspection: Once alignment and leakage tests are completed, perform a final visual inspection of the valve installation to ensure that all components are properly aligned, secured, and functioning as intended.
By following these steps and utilizing proper tools and techniques, you can ensure that double flanged butterfly valves are installed with proper alignment, minimizing the risk of leaks, premature wear, and operational issues in the piping system.
